
Congratulations! You’ve decided to cut the umbilical cord to Evernote and take control of your notes in Obsidian. Now all you need to do is migrate your Evernote notes to Obsidian. The good news: it can be done. The bad news: it’s neither simple nor perfect.
This post will describe the migration process for macOS. It assumes you have not yet created a vault for your Obsidian notes and that you are not put off by the thought of using macOS’s Terminal program.
Step 1: Prepare for the Migration
Obsidian stores notes in ‘vaults’, which are just folders in your macOS file system. You can put the folder you will use as your Obsidian vault almost anywhere, even on a network attached storage drive or in iCloud Drive or Obsidian Sync. (Other cloud storage services are not yet officially supported–see Sync your notes across devices).
We’ll keep the vault location simple for this example. Open Finder and click on your home icon in the Favorites bar on the left. You should see your top level folders like Desktop and Documents. Now right click in the empty space below those folders and select New Folder. Name your new folder obsidian. Now select the obsidian folder and create two new subfolders, one called vault and the other called export. Your new folder structure should look something like this:
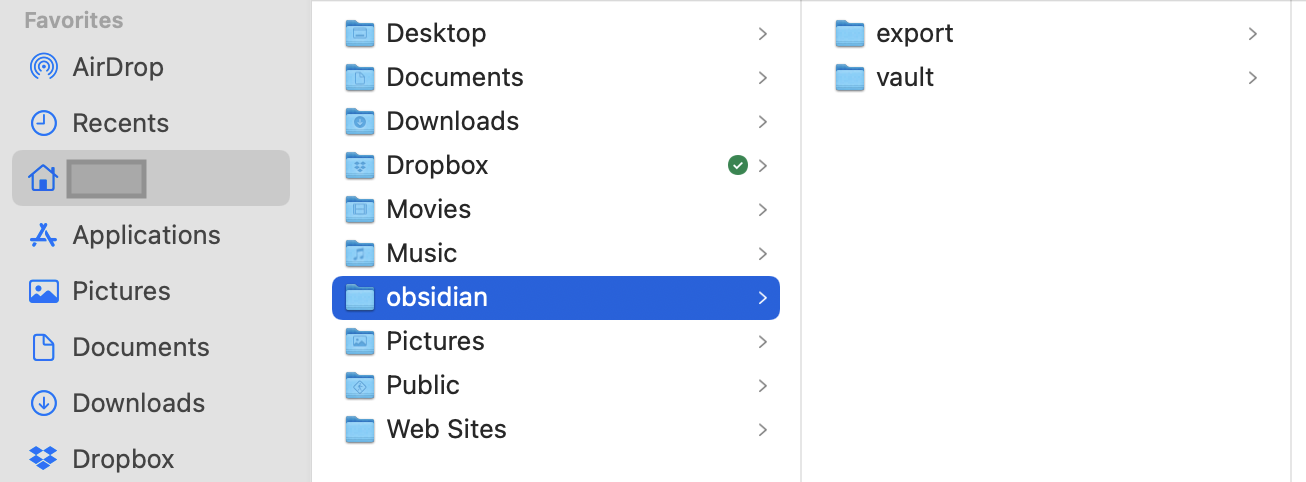
That’s all the preparation we need to do. We will export notes from Evernote into the obsidian/export folder and then convert them into the format needed by Obsidian in the obsidian/vault folder.
Step 2: Export Notes from Evernote
Exporting notes from Evernote is straightforward. The challenge is that Evernote will only export 50 notes at a time. If you have a few thousand notes like I did, exporting becomes quite tedious. To avoid exporting the same notes multiple times, it will be best to do the export in one sitting and select your blocks of 50 notes carefully.
First, select the notes to export. If you try to select more than 50, Evernote will limit you to 50. Then select File/Export Notes… from the main menu. You will see a dialog box that looks like this:
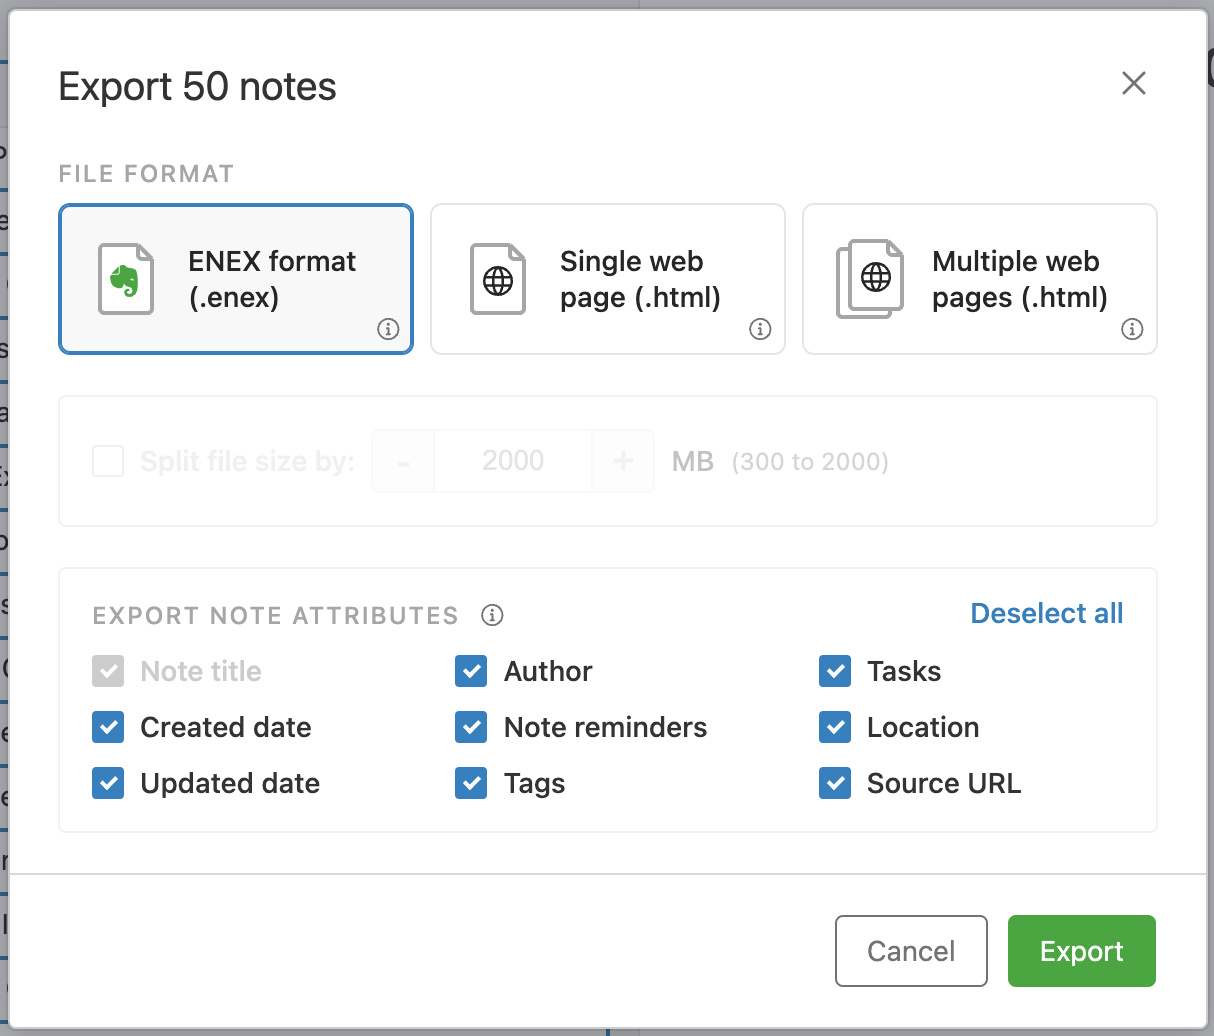
Choose the .enex format at the top if it’s not already selected. You can also choose the attributes you wish to export with the notes. Unless you have a clear Idea of what you want to do with the notes in Obsidian and why, leave all the attributes selected. Then click Export.
In the next dialog box you can select the export file name and where to store the file. I suggest leaving the filename as the default (My Notes.enex); it will only be needed during the migration process. For the download location, navigate to the obsidian/export folder you created earlier.
Click Save and Evernote will display a confirmation dialog box. Great work! You’ve exported your first batch of Evernote notes.
Now repeat the process for successive batches of 50 notes. Evernote will suggest slightly different filenames for each batch (like My Notes (1).enex); again, you can accept the default filenames.
When you have finished, look at the obsidian/export folder in Finder to see all of the exported .enex files you have created.
Step 3: Install evernote2md
Things get a little more technical from here. You now need to install a program called evernote2md, which converts your .enex files to the Markdown .md format that Obsidian uses.
To install evernote2md, point your browser here to see the installation instructions: wormi4ok/evernote2md. In my experience, the easiest way to install this software is to use homebrew. If you have homebrew installed, open Terminal (press Cmd+Space and type ‘Terminal’) and enter this:
brew install evernote2md
If you get an error message trying to run that command, you will need to install homebrew. To do so, in Terminal copy and paste this command (it’s really a single line so be sure to copy and paste it as a single line):
/bin/bash -c "$(curl -fsSL https://raw.githubusercontent.com/Homebrew/install/HEAD/install.sh)"
Installation will take a minute or two. Then go back and try the previous command to install evernote2md again.
To check your installation of evernote2md, enter this:
/applications/evernote2md --version
The current version of evernote2md (0.17.1 as of this writing) will be displayed.
If you want to see the command line options for evernote2md, enter:
/applications/evernote2md --help
Step 4: Convert .enex Files to .md Files
Last step. First, in Terminal, navigate to the obsidian directory you created and enter this:
cd /users/_your home directory name_/obsidian
To confirm you’re in the right place now, enter:
ls
You should see the two subdirectories you created in the obsidian directory:
export vault
Finally, enter this:
/applications/evernote2md export vault -t #{{tag}}
That command tells evernote2md to convert all the .enex files in the export folder into .md files in the vault folder. The #{{tag}} at the end of the command tells evernote2md to convert Evernote’s tags into the tag format that Obsidian uses.
Enter this to see all your new Markdown files:
ls vault
If your Evernote notes had embedded images or files, the Markdown files will now include links to the images and files that have been placed in new image and file subfolders of the vault folder.
TIP: If the links in the Markdown files are broken, check that the file extensions in the links are correct. I found a number of instances where the filename in the link ended in
.jpeinstead of.jpeg, for example.
Now you can load Obsidian and tell it to open a new vault at obsidian/vault and start using your Evernote notes in Obsidian. You will see there is still some cleanup to be done in your notes (that’s why I said at the outset the migration is not perfect) but the hard work is done.
Enjoy using Obsidian!